Summary
Exclamation Mark Literary Journal was quoted $125 for ten black-and-white copies, a price that put their first print issue out of reach. By choosing matte cover stock with 70# uncoated interior paper, planning page count around saddle-stitch binding, and ordering a proof that caught a misspelling before it printed, they produced 50 professional copies for about $2 each. That issue earned them an ISSN, shelf space at Shelf Life and Audreys Books, and over 100 copies sold internationally.
| Time to Read | ~6 minutes |
| What You'll Learn |
|
| Next Steps |
|
When the team behind Exclamation Mark Literary Journal started pricing out their first print run, one quote nearly ended the project before it began: $125 for ten black-and-white copies. For a volunteer-run journal with no budget to speak of, that math didn't work. Ten copies wouldn't even cover the contributors, let alone a shelf at a local bookstore.
Here's the thing: it doesn't have to cost that much. Exclamation Mark ended up printing 50 professional copies of their inaugural issue for about $2 each, and the process that got them there is one any small publisher, zine-maker, or first-time self-printer can follow.
While you’re still figuring out what you want to print, check out a quick video walkthrough on cost-effective booklet and zine design.

The Quote That Almost Stopped Them
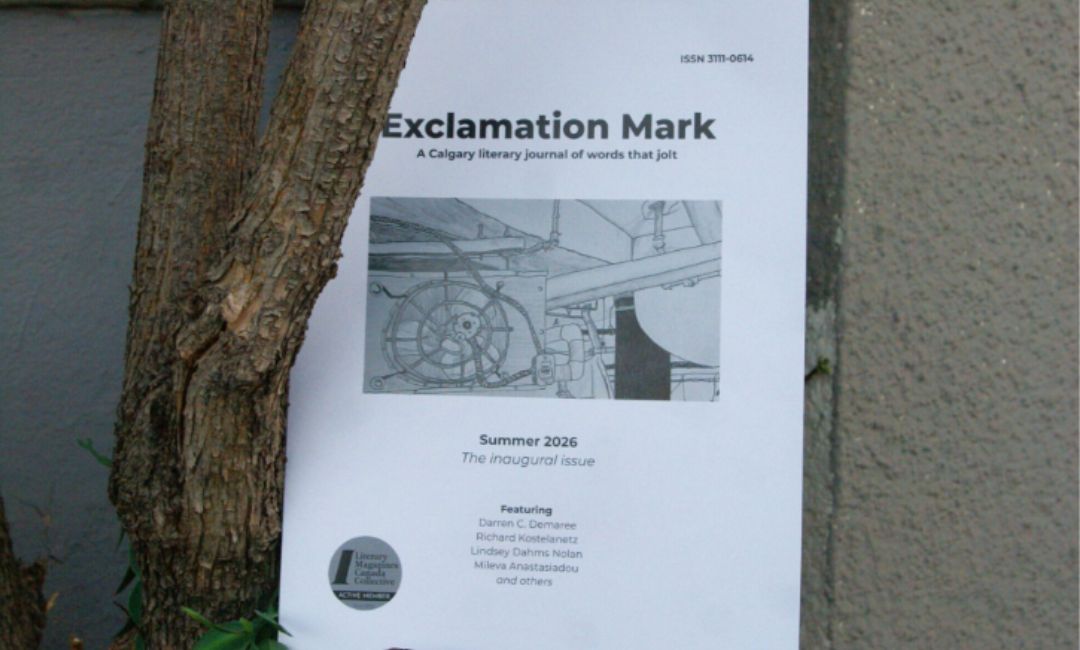
Exclamation Mark is exactly the kind of project that makes Calgary's literary scene interesting. It’s a small, volunteer-run journal built around what they call "words that jolt." Their inaugural Summer 2026 issue featured work from Darren C. Demaree, Richard Kostelanetz, Lindsey Dahms Nolan, Mileva Anastasiadou, and others. It was the kind of contributor list that deserves a real, physical issue and not just a PDF.
The trouble started when the team began getting quotes from printers. One printer wanted $125 for ten black-and-white copies, which worked out to more than $12 per copy. That was before shipping or binding, and the result still wouldn't have looked much like a finished literary journal. Since the team was paying for the project themselves, they had to decide whether a small print run made sense at that price.
What Changed the Math
Instead of scaling back, Exclamation Mark found a way to scale up and still spend less. They ended up printing 50 copies of their first issue for approximately $2 each, a fraction of the original quote's per-unit cost, and with a far more polished final product.
Part of what made the difference was choosing the right paper. Little Rock® offers nine paper types for booklet and zine printing, and Exclamation Mark landed on a combination that suited a literary journal well:
| Component | Paper Choice | Why It Works |
| Cover | Matte cover stock | Durable enough to handle shelf browsing, without the glare of a glossy finish |
| Interior Text | 70# uncoated text | A comfortable reading weight that doesn't feel flimsy, with a natural, ink-friendly surface for body text |
If you're planning your own run, don't default to the first paper option listed. Matching your stock to how the piece will actually be used, read cover to cover versus flipped through once, makes a noticeable difference in the finished product.
Planning Your Page Count for Saddle-Stitch
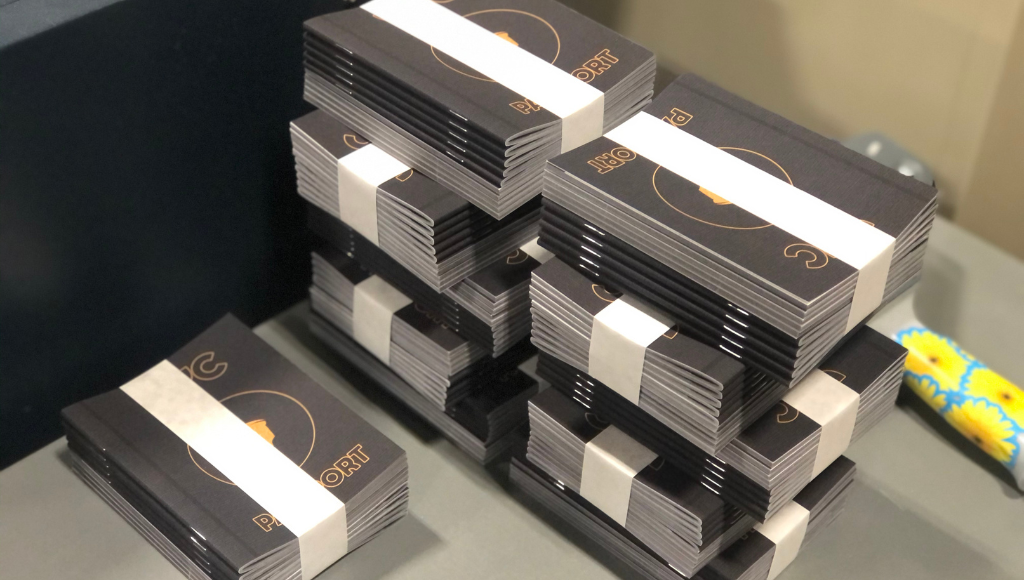
Before you start laying out the booklet in Canva, decide how you want to bind it. Saddle-stitch binding is common for booklets and zines. The pages are folded and stapled along the spine, so the finished booklet needs a total page count that's a multiple of four.
A few things to keep in mind as you're planning:
- Count your cover as part of the total. A front cover, inside front cover, inside back cover, and back cover typically use up four pages on their own.
- Leave room for the pieces you'll want later, such as a table of contents, contributor bios, a colophon or ISSN page, and any closing notes.
- If your content lands you a few pages short of a multiple of four, a contributor spotlight, a call for submissions, or even a full-bleed image page can round things out cleanly.
Planning page count early saves you from reworking layout after the fact, which is exactly the kind of rework that eats into a volunteer team's limited time.
Related Reading:
Setting Up Your Canvas in Canva
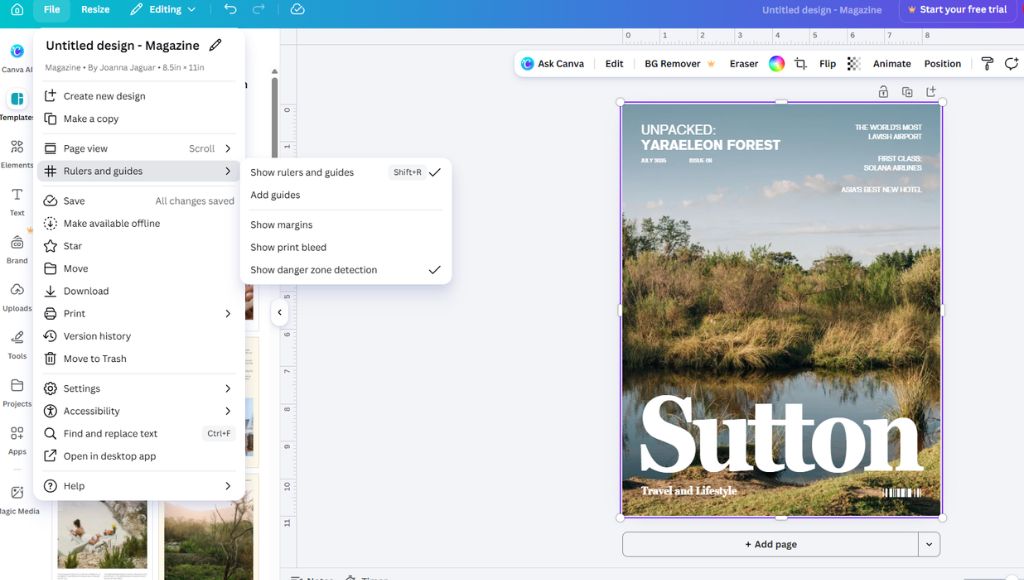
Once you know your page count, set up your Canva file with print in mind from the start rather than adjusting for print at the end.
- Bleed: Add bleed to any design element that touches the edge of the page, like a full-bleed cover image, so there's no thin white sliver after trimming.
- Margins: Keep body text and important content safely inside the margins so nothing gets clipped during binding or trimming. Find the margins by clicking File in the top left corner, then Rulers and Guides, and finally Add guides.
- Cover vs. text canvas: If your cover uses a different stock than your interior pages, which Exclamation Mark's did, set those up as separate elements so you can export and print them correctly.
Canva's print-ready templates make this easier to get right on the first try, especially for teams without a design background who are figuring this out as they go.
Order a Proof Before You Commit
This step matters more than it might seem, even on a run as small as 50 copies.
Before Exclamation Mark's full batch went to print, they ordered a proof and caught a misspelled contributor name just hours before the print run was scheduled to go. That's the kind of error that's nearly invisible on screen and painfully visible once it's on paper in someone's hands, especially when it's a contributor's name.
The Little Rock® team worked with Exclamation Mark to fix the file in time, and the corrected version went to print without the error. It's a good reminder that a proof isn't a formality. It's the last real chance to catch something before it's permanent, and it costs far less than reprinting 50 copies after the fact.
Exporting Print-Ready and Running the Batch
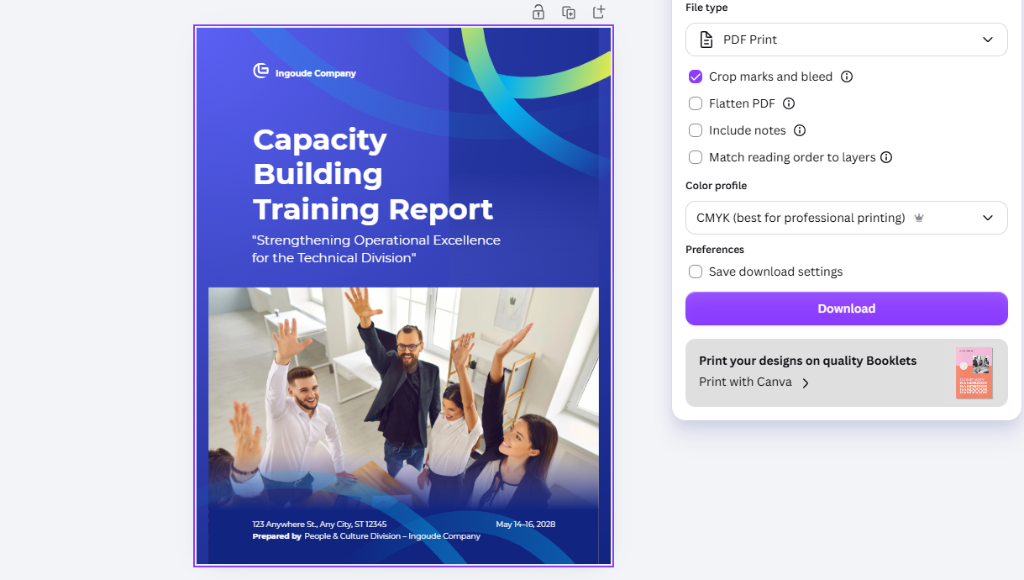
Once the proof is approved, exporting is straightforward:
- Export your file as a print-ready PDF, with bleed and crop marks included.
- Double-check that cover and interior files are set up as separate documents if they're on different stock.
- Confirm your final page count is still a multiple of four after any last edits.
- Submit the files and choose your quantity; in Exclamation Mark's case, it was 50 copies.
From there, it's a matter of running the batch and getting finished copies back in hand, ready for contributors, readers, and bookstore shelves.
What the Print Issue Unlocked
A finished, professionally printed issue did more than give Exclamation Mark something to hand out. It gave the journal legitimacy as an ongoing publication.
- They secured an ISSN from Library and Archives Canada, the kind of formal recognition that matters for a journal planning future issues.
- The issue found shelf space at Shelf Life and Audreys Books, two well-known independent bookstores.
- More than 100 copies have sold internationally since the first print run.
None of that would have happened with a PDF sitting in a folder. It took a physical issue, in someone's hands, on a shelf, to turn a volunteer project into a journal people could actually find and buy.
Got Something to Print and Bind?
Exclamation Mark's story isn't unusual because their budget was small. It's unusual because they didn't let that stop them from printing something professional. If you've got a manuscript, a zine, a portfolio, or anything else that deserves to exist in print, you don't need a big print run or a big budget to make it happen.
Little Rock® offers free proofs, affordable short runs, and no minimums, so you can print exactly what you need, whether that's 10 copies or 500. Explore your options at Little Rock Printing®, and see what your first issue could look like.
Congratulations to Exclamation Mark Literary Journal on their inaugural issue, now on shelves at Shelf Life and Audreys Books.