Summary:
- Canva is a free online graphic design program that allows users to make templates for numerous projects. Little Rock Printing™ provides templates for Canva users to create gorgeous custom calendars easily and quickly.
- To create a custom calendar with our Canva template, you’ll need a Canva account (either a free account or Canva Pro if you want extra features).
- Once you’ve made your account, you can drag-and-drop images in or out of your calendar, click on text to change the font and style elements, and download a print-ready PDF to send us when you place your order online.
Calendars make useful personal organizers, office gifts, or novelty items—but if you want your calendar to truly pop, it pays to make it one-of-a-kind. And designing a custom calendar is easier than you might think, thanks to Little Rock Printing™’s collection of free Canva templates!
Of course, a template is just there to help you get started. You’ll also need to know how to fill it out with details that will make the finished product truly your own! Fortunately, as high-quality independent printers with years of experience, we’ve got some tips to share. Keep reading for a step-by-step guide to creating a beautiful custom calendar with Canva.
See Also:
Getting Started with Canva
Canva is free online design software that makes graphic design simple and accessible. Unlike design programs that come with a steep learning curve, Canva is designed to be intuitive and user friendly—for the most part, you just select elements from the left side of the screen, then drag-and-drop them into your design and tweak them by clicking on their different properties (we’ll cover these steps in more detail below).
Read more: How To Design a Custom Calendar For Free With Canva
In addition to calendars, we have Canva templates for banner stands, business cards, stickers & labels, and many other print products. You’ll have to have a Canva account to use these templates, so make sure to create one if you’ve never done this before. Click here to make your Canva account in just a few minutes.
Step 1: Choose Your Calendar Size
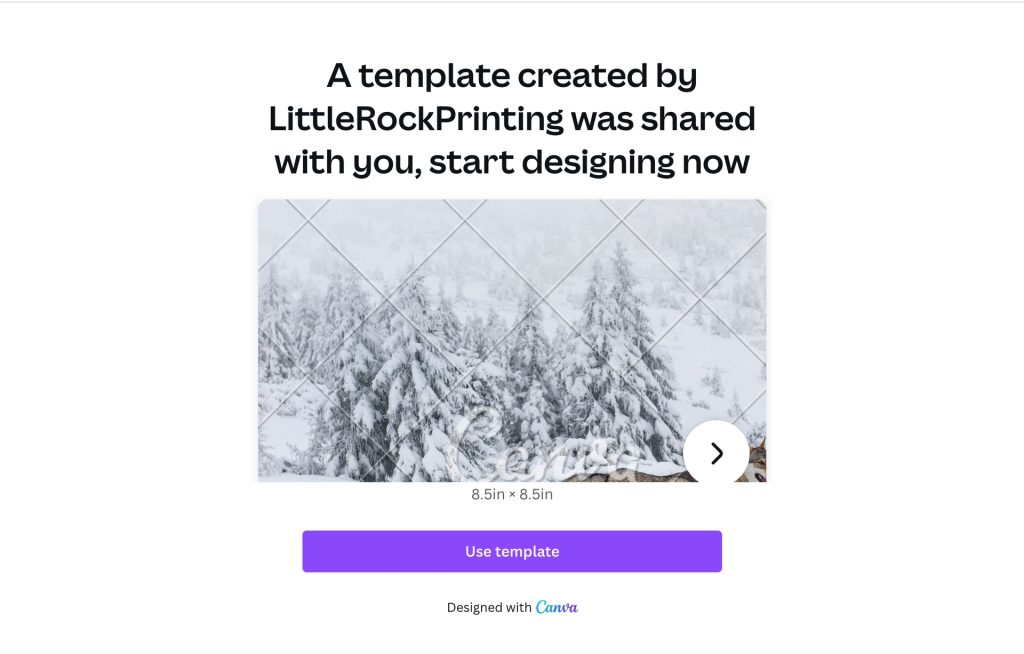
We’ve made this first part easy by grouping our templates into two different categories: the square calendar (8.5 x 8.5 inches), vertical calendar (8 x 10 inches), or the standard size (11 x 8.5 inches). Just click on the option you want and you’ll be redirected to Canva, where the corresponding template will automatically open.
Opening the template automatically creates a copy just for you—so you can change absolutely anything you want. Now the fun begins!
For Best Results
- Plan your theme and prepare some images beforehand—this will make choosing a size easier.
- Consider signing up for a Canva Pro account if you don’t have one—you can still make a beautiful custom calendar without one, but the extra stock images and other options that come with Pro accounts are nice to have if you want even more freedom for your design.
Step 2: Change Out the Photos
You’ll notice that our calendar templates come with photos—but it wouldn’t really be a custom calendar if you had to use the ones we provided, would it? So the first thing you’ll want to do is replace those with your own. To do so, click on the existing images and then click the trash can symbol that appears. You can also right-click, then select “delete” from the drop down menu or “detach image from background” (if you do this, the images will come loose from the background and you can drag them out of sight to make room for your new ones).
To put in the images you want instead, you can select them from the “Elements” section on the left-hand side of the screen or upload your own in the “Upload” section right beneath it. You can also simply drag images in most formats straight from your desktop and drop them into your project. To make the new image the background of a given page, right-click it and select “set as background” from the drop-down menu.
For Best Results
- Use high-resolution images (at least 300 dpi). Remember, you’re going to print this—so even though you’re designing it online, it needs to be print quality!
- Drag the corners of each image to resize it so that it fits your design.
Step 3: Adjust Your Calendar’s Dates & Other Info
Our calendar templates come with all the provincial holidays for Alberta—but if you’re ordering calendars for somewhere else (or if you want to add custom dates like birthdays or events for your organization), they’re easy to modify!
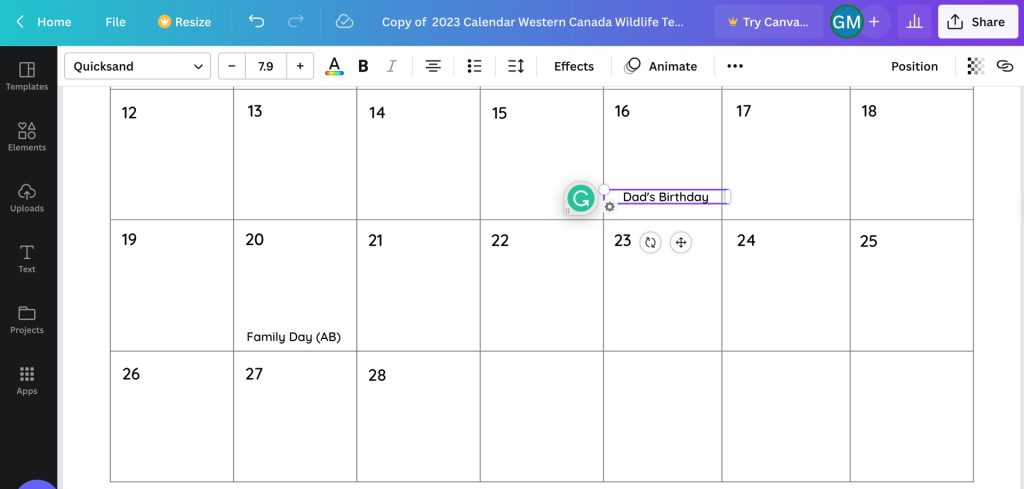
The easiest way to do this is to simply select a date from the template, then copy and paste it so you can drag it elsewhere without losing the original (unless you want to—in which case, just drag that). Clicking on the text lets you change it to reflect any kind of milestone you want.
For Best Results
- Add dates relevant to the people who will be using your calendar—if it’s a gift for someone specific, you might want to include their birthday, and if you’re making office calendars, be sure to include company-specific celebrations or mandatory events.
- If your calendar will be used somewhere other than Alberta, make sure to include all the official holidays for your area.

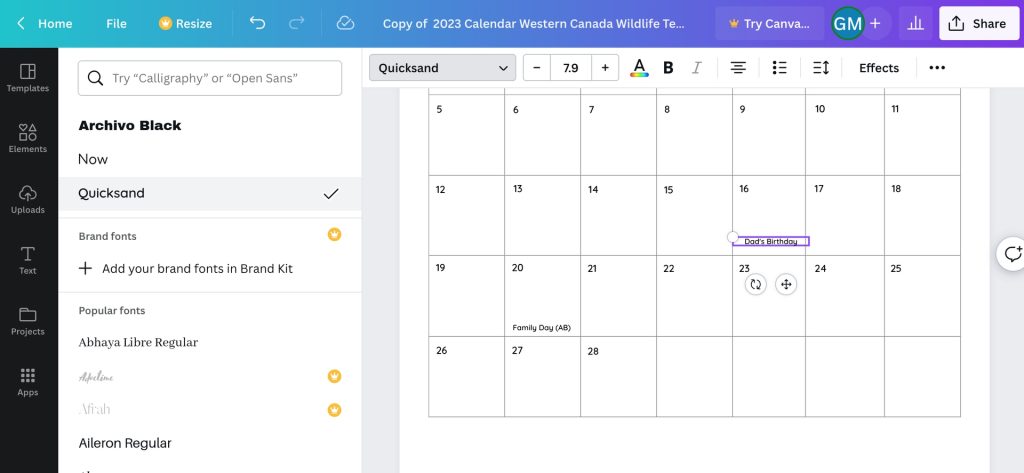
Step 4: Change the Fonts (& Other Stylistic Details)
Switching up fonts in Canva is easy! Whenever you click on a piece of text, you’ll notice that the toolbar at the top of your screen changes. There, you’ll find a menu for adjusting the font, as well as menus for font size, color, style elements, bullet points, and more.
Similar controls pop up when you click on graphics or other elements, too—so play around and see what you discover! Don’t be afraid to experiment (remember, the “undo” command is always an option).
For Best Results
- Choose fonts that are easy to read, especially in areas where the font size needs to be small.
- Don’t pack too many different fonts into your calendar—you want to make sure the design looks organized.
- Avoid font colors that will blend in with your background (the standard background for our template is white, but you can change that as well).
Step 5: Download & Send Your Print-Ready Calendar
Now that you’ve finished designing your calendar, all you need to do is save it in the correct format and send it off to us when you place your order. Follow the steps below to make sure your design comes to us ready for printing!
For Best Results
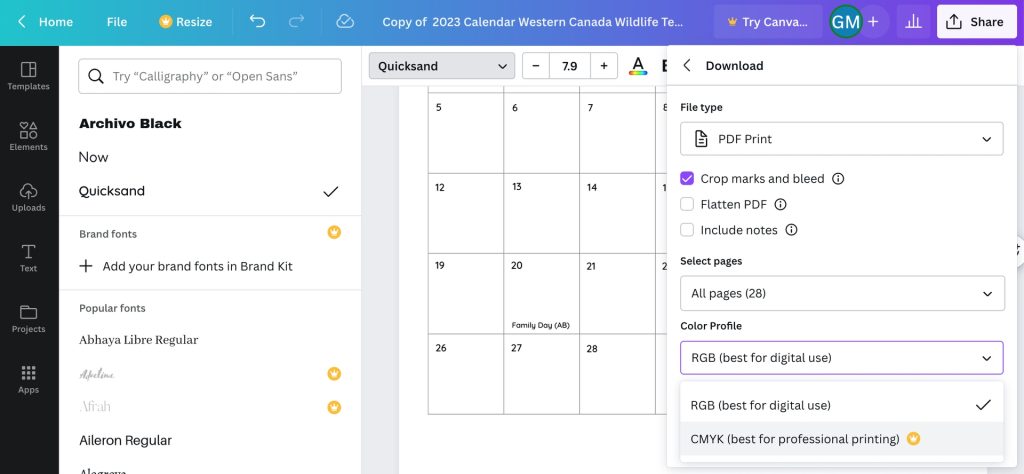
- Click the “Share” button at the top right of your screen
- Click “Download” from the drop-down menu that appears
- Select “PDF Print” under “File Type”
- Check “Crop marks and bleeds”
- Select “CMYK” under “Color Profile”
- Hit the “Download” button at the bottom, and send us the file when you place your order with us online!
Video Walk-Through
Want more visual references to help you get comfortable with the process? Check out the video below to see us design a custom calendar step-by-step!
Get Your Perfect Custom Calendar in Time for the New Year
Designing a custom calendar is easy with our help! By following the steps above, you’ll be able to make an incredible calendar for any person or organization with Canva’s easy-to-understand tools and get high-quality prints from our expert team. To learn more about our printing process or talk to us about your order, contact us now.