Summary:
- Custom event ticket printing adds a touch of professionalism and excitement to any event.
- Choosing the right design and paper type is crucial for creating an impactful ticket. Little Rock Printing™ can provide you with a free sample kit that includes examples of every paper option we stock so that you can choose the best option for your needs.
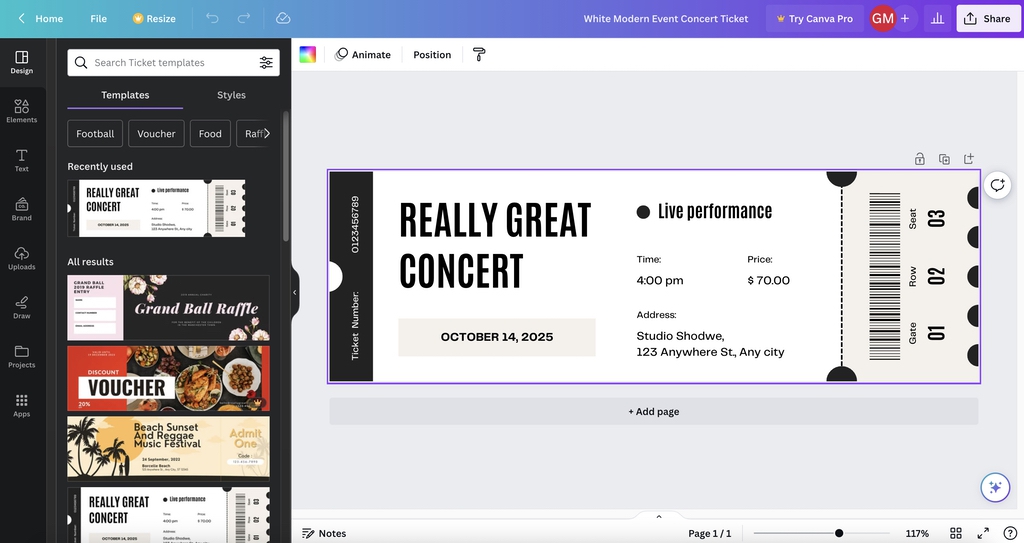
- We recommend using Canva to design your ticket. Canva is a free design tool that makes it easy to adjust the colours, fonts, images, and other elements of your tickets and make them truly your own.
- Ordering your tickets with Little Rock Printing™ is easy once you’ve designed them. Simply choose the number of tickets you want and the deadline you need them by, then select a few different printing options and our professional team will make sure they’re ready by the date you’ve chosen.
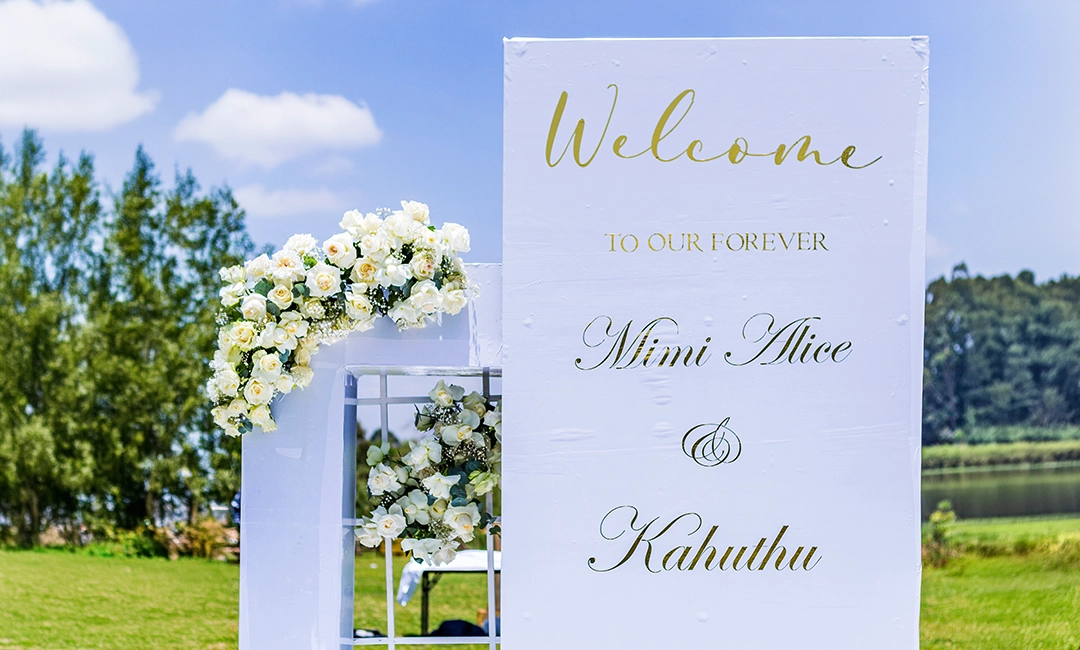
In an era where our lives are increasingly digitized, having physical custom-printed event tickets helps you create more tangible and impactful experiences. Whether you’re hosting a concert, a theater production, or a corporate event, custom ticket printing is an easy way to improve your brand recognition and stir up excitement for your guests.
But how can you create tickets that make the right impression and communicate the necessary information clearly? Read this guide from the expert printers at Little Rock Printing™ as we take you through every step of the journey.
See Also:
Choosing the Right Paper Type for Your Tickets
Your ticket is often the first impression attendees have of your event, so choosing the right paper for it is crucial. Here are some tips for selecting paper that makes your tickets pop:
- Consider different weights and finishes. Glossy finishes might bring out the colors in your design, whereas a matte finish provides a sophisticated, muted look.
- The weight of the paper influences how the ticket feels in hand. For example, 8PT cover stock is an excellent choice for simple perforated tickets, whereas tickets you plan to write on should use cardstock with a thickness of at least 13 PT.
Not sure which paper type suits your needs? Order a free paper sample kit from Little Rock Printing™. This kit contains samples of all the paper types and other print materials we offer, so that you can see and feel them yourself to make the best choice for your tickets.
Designing Tickets that Stand Out
Make sure to personalize your tickets to fit your branding and the tone of your event! Here are some best practices for successful ticket design, along with tips on how create the design easily using Canva:
White Space
Leaving room on your layout that isn’t filled with text or images prevents the design from being too busy and draws viewers’ attention to the information you want them to see—like the title, date, and location of your event.
- White space doesn’t actually have to be white—it just needs to be free from design elements.
- You can measure the white space around different design elements in Canva by turning on rulers and guides. To do this, go to File > View Settings > Show Rulers and Guides.
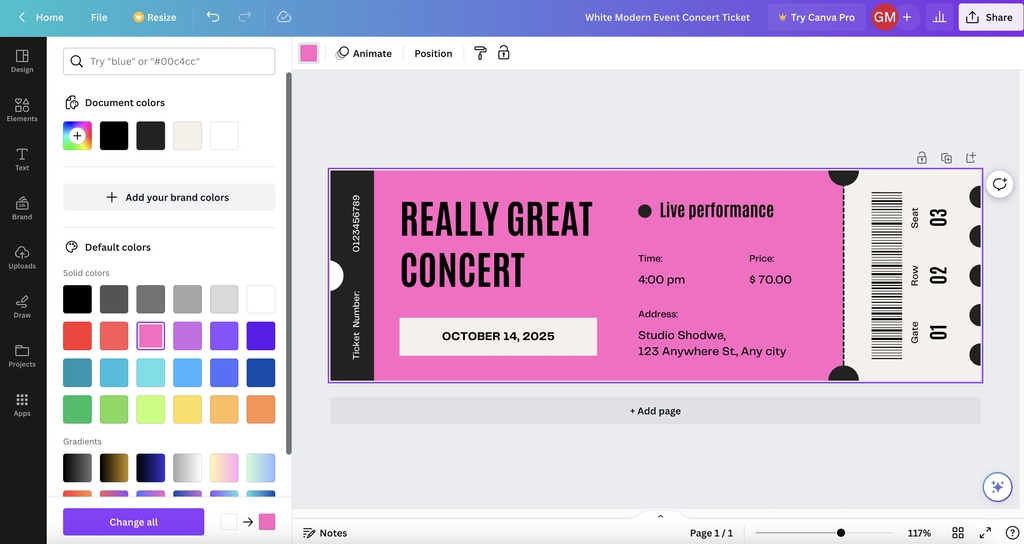
Colours
Full-color printing can make your tickets pop, but remember that every hue should align with your event’s branding.
- If your event is seasonal, try using colours that evoke the time of year—earth tones for autumn, jewel tones for spring, etc.
- If your event is corporate, use your company colours.
- Choose 2-3 colours maximum for the ticket design so that they don’t become overwhelming.
- If you’re using Canva Pro, you’ll be able to access a colour wheel with specific codes for your colours. Send these to us with your design so we can ensure they print as accurately as possible!

Fonts
Choose a readable font that also fits the event’s character. Avoid overly decorative fonts for crucial information like the event date and venue, as these can compromise legibility.
- To change your font in Canva, click any text box and then select the Font tab in the top left corner of the screen.
- Browse through the available options and find choices that align with your event—or upload your own font packages if you have Canva Pro!
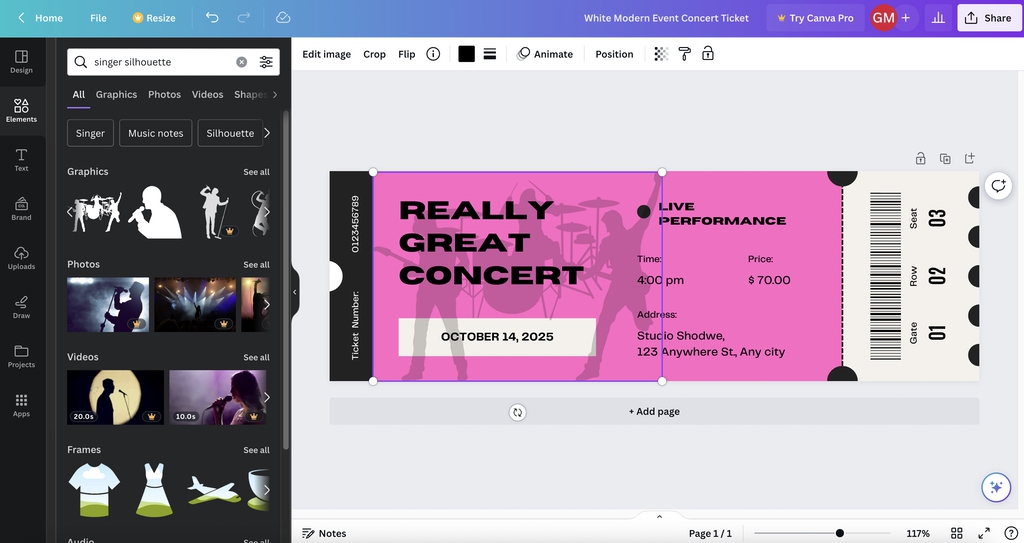
Images
Whether it’s a logo, artwork from a featured artist connected to the event, or even a simple border, images can make your ticket memorable.
- Keep your image small enough that it doesn’t fill up all the space on your ticket—or better yet, make it transparent and use it as part of the background!
- To do this, upload the image you want or find it in Canva’s library by clicking the Elements tab and using the search bar that appears. Then drag it onto your ticket’s canvas, and select the Transparency button on the row of tools above your design (the icon that looks like a chess board fading from left to right).
- Adjust the sliders until the image you want is the right transparency for your design. It should be noticeable without making the elements in front of it difficult to read or see properly.
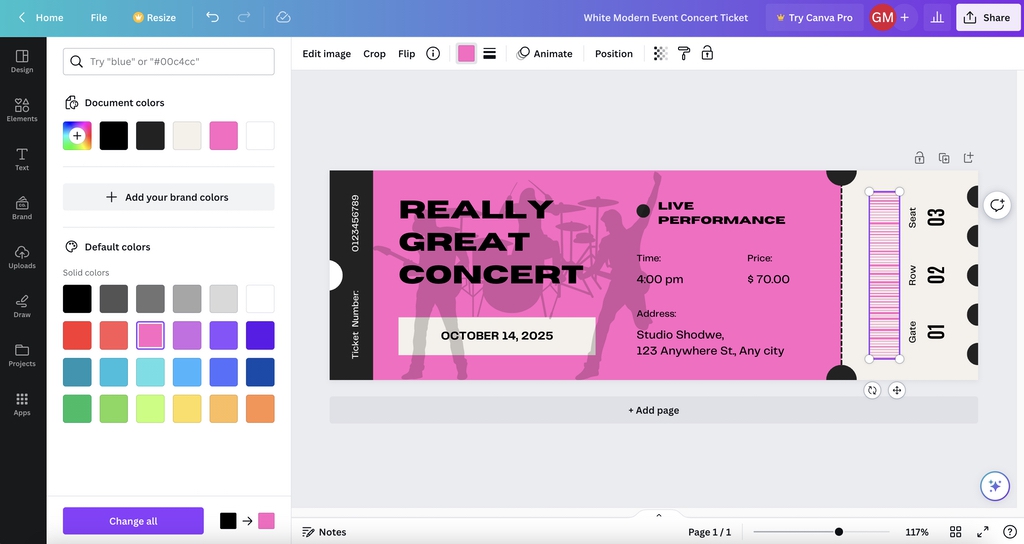
Barcodes
These are not just functional elements; they can also be designed to fit aesthetically with the rest of the ticket.
- Canva can help you make a QR code for your tickets, or you can find a free barcode generator online.
- Once you’ve uploaded your code into Canva (just like any regular image), drag it into your design’s canvas.
- Adjust the color and placement of your barcode to help it fit in with the rest of your design—but don’t do anything that could make it hard to scan! Avoid making the code a colour that isn’t distinct enough from its background, or placing a texture on it that could throw off scanning devices.
Printing Process: The Journey to Your Perfect Ticket
Now it’s time to learn a little more about our printing process so you can look forward to a seamless experience. Here’s how to order your event tickets from Little Rock Printing™, send us your design, and get the finished products by the time you need them:
Download Your Design in Print-Ready Format
Check the dimensions and file format of your design. Here’s what we recommend if you used Canva to design your tickets:
- Go to “Share” in the upper right corner.
- Select “Download” from the dropdown menu.
- Choose “PDF Print” under “File Type.”
- Include “Crop marks and bleeds.”
- Choose “Flatten PDF”.
- Opt for “CMYK” under “Colour Profile.”
- Click the “Download” button.
Send Your Design to Little Rock Printing™
Go to our event tickets page and choose your selections from the following lists of options:
- Finished Size: Little Rock Printing™ can print your event tickets in custom sizes—just use the tool on the order page to tell us how big or small you want them!
- Paper Type: Choose from 8PT, 11PT, 13PT Uncoated, or 15PT cover.
- Single or Double-Sided: Depending on how much information your design has and where it’s placed.
- Perforated: Perforated tickets are easier to tear when people use them to get into your event.
- Numbered: Choose this option if you want us to number your tickets automatically instead of having to put numbers in your design.
- Stapled in Sets: Have your tickets delivered in sets of 10, 20, or 25.
- Quantity and Delivery Speed: With no minimum or maximum order sizes, we make it easy to get as many (or as few) tickets as you need. You can also choose to have them finished in anywhere from 1-5 business days—and we guarantee they’ll be ready by the date you choose.
Once you’ve made your choices, click Add to Cart and complete your order with us. You’ll have an opportunity to upload your design files before finalizing your order, or you can send them to us by email at [email protected].
What We Do After Receiving Your Design
- Design Approval: We approve the print readiness of your design once you send it to us—this includes double-checking the resolution, dimensions, and file formats.
- Printing: The design is transferred onto the paper using various printing methods, like digital printing for short runs or offset printing for larger quantities.
- Cutting and Sorting: Once printed, we cut your tickets to size and sort them.
- Quality Check: Before your tickets are shipped, they undergo a quality inspection at our shop in Calgary to ensure they meet our high standards.
Frequently Asked Questions about Custom Event Ticket Printing
How long does it take to print custom event tickets?
Our timelines for custom event tickets are between 1 and 5 business days.
Can I print tickets with different designs in a single order?
Yes! We let you take advantage of our competitive bulk pricing by bundling numerous ticket designs into the same order (as long as all designs will be printed on tickets of the same size and shape).
What file formats are accepted for designs?
We strongly recommend submitting your design to us as a print-ready PDF to ensure quality and consistency when printing.
Can I add security features to make my tickets more secure?
Yes! We recommend adding numbers to your tickets and QR codes to ensure that counterfeit copies cannot be used once the original tickets are scanned at your event.
Is digital or offset printing better?
Digital printing is cost-effective for smaller runs, while offset printing is more economical for large-scale orders and offers a higher quality of print. We’ll use the method that keeps your order professional while being as cost-effective as possible.
Can I get a sample of my design before placing the whole order?
Yes! Just order a single copy of your design and use the code “FREEPROOF” at checkout. We’ll send you a sample of your event ticket design free of charge so you can confirm that everything is the way you want it before ordering in volume.