Summary:
- Using a high-quality camera and having a good setup is key to photographing artwork. This will ensure that the colors and detail of the original piece are intact when ready to print.
- To photograph your artwork, gather your equipment, focus on good lighting, prep your camera settings and shoot directly in front of your piece.
- When you’re finished photographing, upload your JPEG to Canva and make any edits or modifications.
- When you’re ready to print your photographed artwork, submit your print-friendly digital files to Little Rock for professional printing.
High-quality photos are essential for printing artwork because they help capture the detail and colors of the original piece. To ensure the highest-quality print, you want to consider the equipment you’re using while thinking about lighting, positioning and more.
Here’s a breakdown of how to get the best photo of your artwork, plus easy steps on how to edit the digital file before submitting to Little Rock for professional printing.
Gather Your Equipment
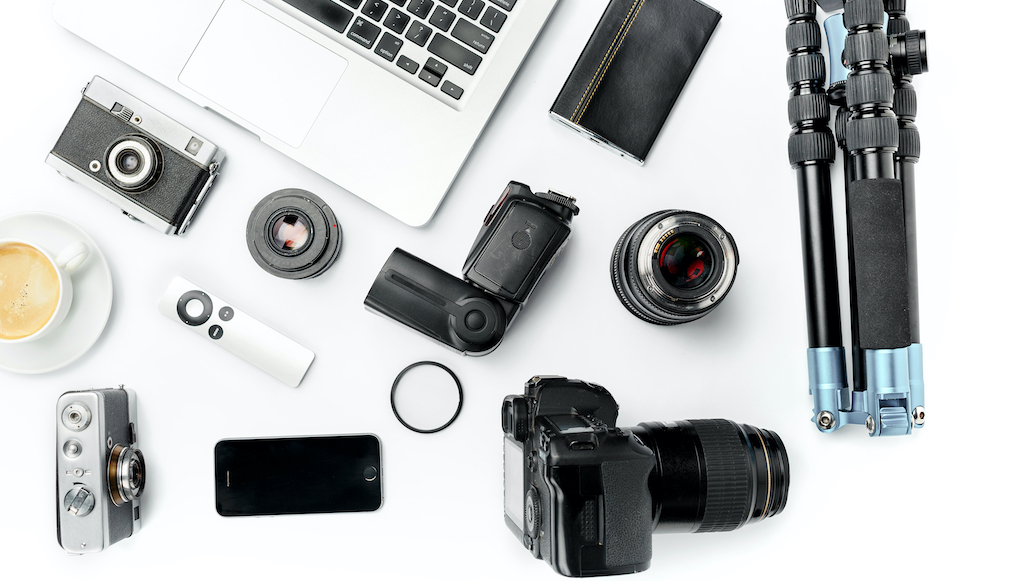
Before you start photographing your artwork, you’ll need to gather your equipment. Here’s a quick checklist of what to have and why it’s important:
- Camera: a professional, high-quality option like a DSLR or a mirrorless camera with a high-resolution sensor is ideal. If you don’t have a professional camera, a smartphone can also work if used correctly. Your goal is to get a crisp, hi-res image, meaning 300 PPI (pixels per inch) or 300 DPI (dots per inch).
- Tripod: In order to keep the camera steady and ensure sharp images, a tripod is a must.
- Remote Shutter Release: This is another way to help prevent camera shake and keep the camera stabilized.
- Lighting Enhancements: Beyond finding the best natural light, consider adding extra lighting tools like softbox lights and LED panels.
- Polarizing Filter: An optional tool, but super useful for reducing glare on glossy surfaces.
Setting Up Your Artwork & Space
Having a good setup area is key to getting a high-quality image. First, you want to prep your artwork by ensuring that it’s clean and free from dust, smudges and other marks. If your artwork is on paper, make sure it’s straight and level to avoid any distortion. You may want to consider mounting it to the wall for an easy, flat surface.
If you’re not using any specialty lighting like softbox lights or LED panels, find the best place to use natural light like near a large window. Avoid direct sunlight, which can create harsh shadows and highlights. You also want to find a neutral background so it doesn’t distract from the artwork.
Taking The Photo
Now it’s time to get your camera (or smartphone) prepped and ready to shoot. Use these camera settings for the best result possible:
- Set your camera to the highest resolution
- Use a low ISO setting (100-200 to minimize noise)
- Set your aperture between f/8 to f/11 for sharpness
- Set the white balance manually to match your lighting setup
- Use manual focus to ensure the entire artwork is in sharp focus
Most of these settings will be automatic on a smartphone, but you can check your phone settings just to be sure.
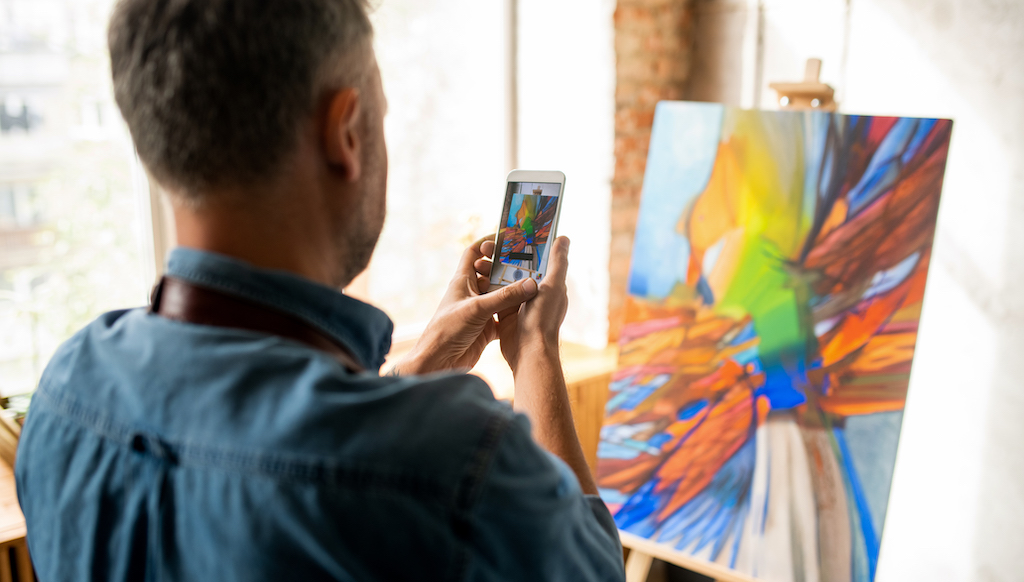
Once your camera and artwork are ready, place the camera directly in front of the artwork, ensuring it’s parallel to avoid distortion. Fill the frame with the artwork and don’t crop any edges. If you leave extra background space behind your image, you can easily crop the photo on a graphic design website—we can walk through this shortly.
Be sure to take multiple shots with slight variations in exposure and focus so you have plenty of options to choose from. Once you get a clear photo of your artwork, save the JPEG file to your computer.
Editing & Finalizing Your Photo in Canva
We recommend using a free design website like Canva to edit and convert your image to a print-friendly PDF before submitting your finished photo for professional printing. To edit your image in Canva, simply:
- Enter the dimensions of the print size you want into the custom size search bar and click “Create new design”.
- Upload the JPEG of your artwork by selecting “File”, “Import Files”.
- Drag the sides and corners of your image to fill the blank space of your custom size print.
- Make any necessary adjustments or edits you want. Some basic adjustments include:
- Color Correction: Adjust the colors to match the original artwork.
- Brightness and Contrast: Fine-tune to enhance details.
- Cropping: Remove any unwanted background and ensure the artwork fills the frame.
- Sharpness: Ensure the image is sharp without losing the integrity of the original artwork.
- Name your file and click “Share” then “Download”.
- Select “PDF print” and “crop marks and bleeds” for the highest quality.
- Download and save the PDF to your desktop.
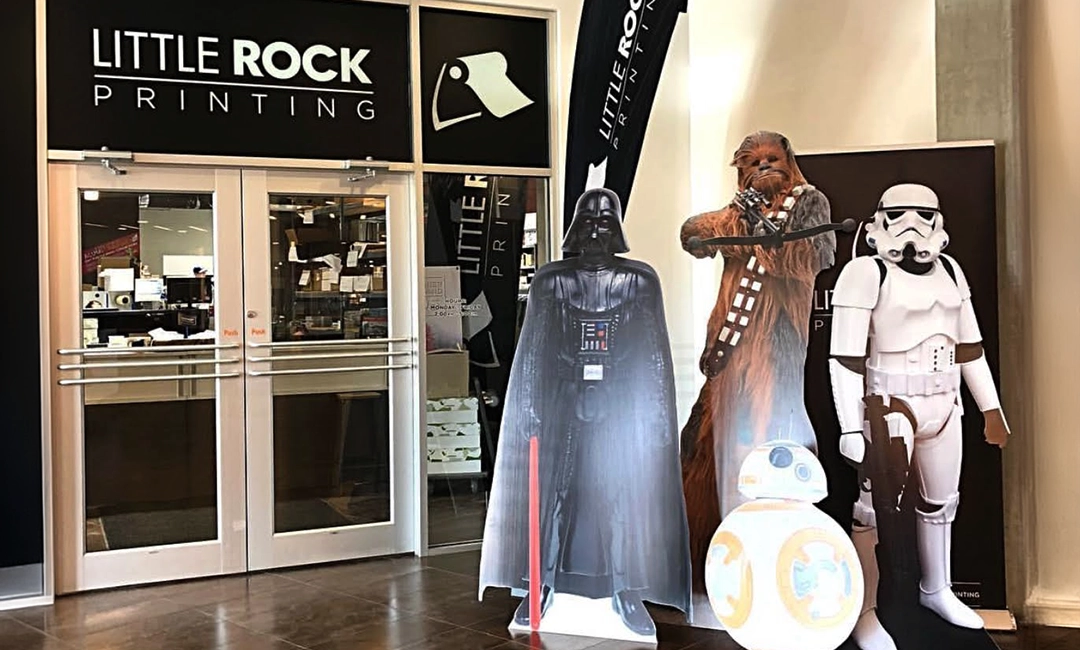
Submit to Little Rock For Printing
By following these steps and tips, you can ensure that your artwork is photographed and printed with the highest quality possible. When you’re ready to print, submit your final PDF to Little Rock, where you can choose from customizations like print size, paper type and more.
See also: Little Rock vs. Walmart for Printing Documents
We offer a free paper sample kit so you can make an informed decision on which paper type is best before placing your order. You can also request a free sample print of your order by selecting “FREEPROOF” at checkout. If you have any questions about your order or any of our other printing services, contact the Little Rock Printing experts.