Summary:
- Banner stands make excellent marketing materials for events and public spaces. Little Rock Printing™ provides free Canva templates and design tips so you can create an ideal banner stand for your business and send it to us for professional printing.
- Creating an account with Canva is easy and free. For access to premium features, consider a paid Canva Pro account.
- Once you’ve opened our template in Canva, replace the existing images and text with your own brand-specific elements. Then download a PDF of the finished design and submit it to us for printing in 1-5 business days.
- Little Rock Printing™ prints practically everything in-house, has no order minimums or maximums, and guarantees our timelines. Let us be your print partner for banner stands that help your business shine.
High-quality banner stands are event marketing materials—making your organization’s logo and key information visible in high-traffic locations so that you can capture the attention of attendees.
Read more:
- Banners vs. Banner Stands vs. X-Banner Stands: What’s the Difference?
- How to Design a Large Outdoor Banner Using Canva
To help you design banner stands that truly benefit your business, our team at Little Rock Printing™ has created this guide that walks you through the steps involved. Find the right design template in Canva, customize it to match your brand, and then send it to us for professional printing by industry experts.
See Also:
Starting with Canva
Canva’s simple but powerful features make it one of the best free design platforms on the internet. Once you’ve signed up for a free Canva account (or Canva Pro if you want additional functionality), the first step is to choose a template for your banner stand design.
Step 1: Find Your Banner Stand Template
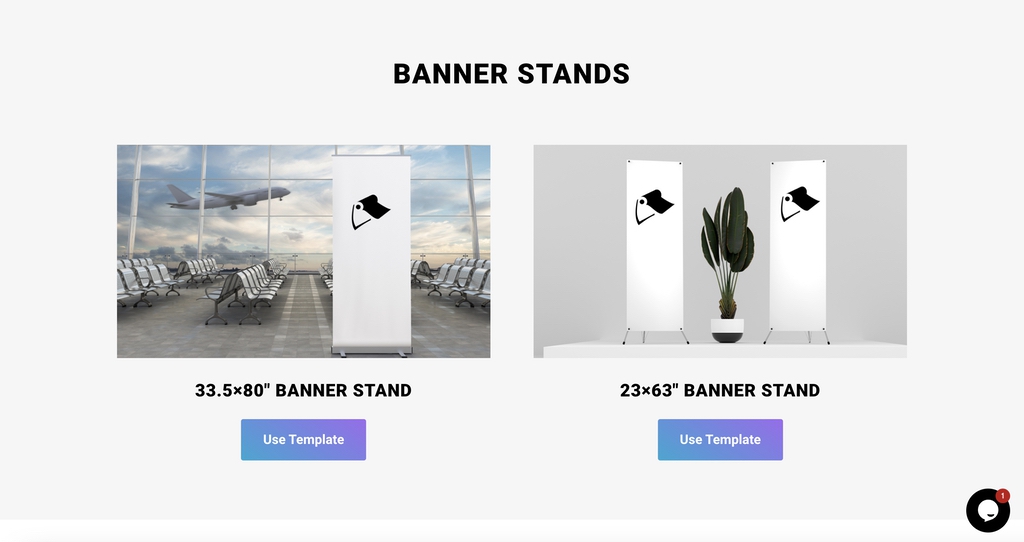
Little Rock Printing™ offers two free Canva templates for banner stands, as well as many other popular print projects. Here’s what each kind is best for:
- 33.5” x 80” Banner Stands: Ideal for prominent displays in busy public environments like airports or malls.
- 23” X 63” Banner Stands: Best suited for conferences and corporate events held in typical indoor spaces.
Select the template you want to customize above, then click “Use template for new design”. You’ll be taken to Canva, where you’ll be ready to start creating.
Step 2: Adjust Your Template Settings
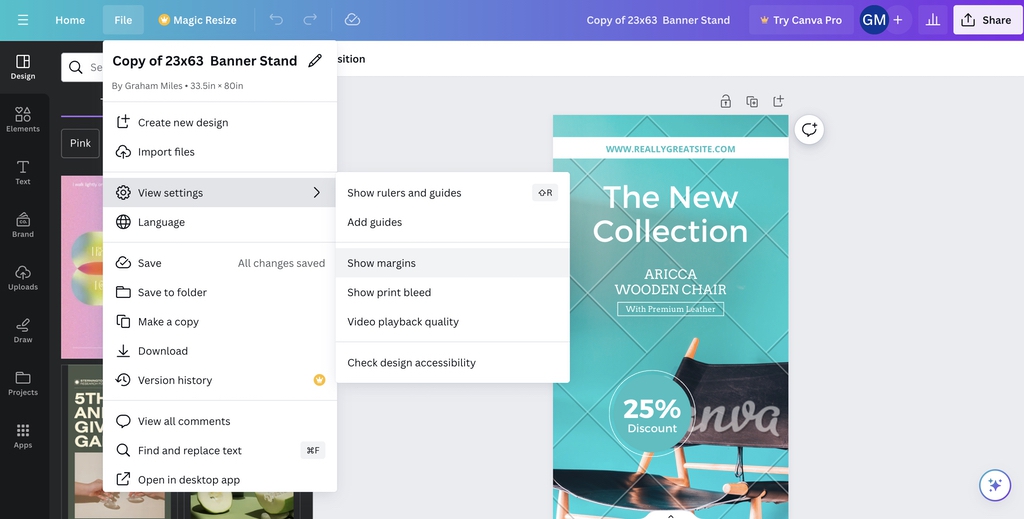
Before you touch any of the design elements in your template, you should check your Canva settings and make sure they’re configured to support your best work. This should only take a second or two because Canva is designed for user-friendliness—but it can save you a lot of frustration during the next few steps by keeping your work efficient.
- Click “File” > “View Settings” > “Show Rulers & Guides” to see how the elements of your design line up with each other more easily.
- Click the “Magic Resize” menu in the top-left corner of your screen and select “Resize” for a list of options, or to choose custom dimensions for a banner with unique sizing (you’ll need Canva Pro for this).
See Also:
For Best Results
- Consider upgrading to Canva Pro. This lets you create banner stands with custom sizing if you want something different than the templates we’ve made available, and also gives you access to a wider selection of design elements.
Step 3: Add Custom Images
Both of the Canva banner stand templates we provided come with placeholder images to show you examples of where to place different visual elements. But the images you use (and where you put them) are totally up to you!
Delete any visual element by clicking the trash can icon that you see when you mouse over it. Then add your own images by using the search bar in the “Elements” tab, or upload custom images by either:
- Dragging the files in from your desktop.
- Connecting apps like Google Drive, Dropbox, Facebook, or Instagram.
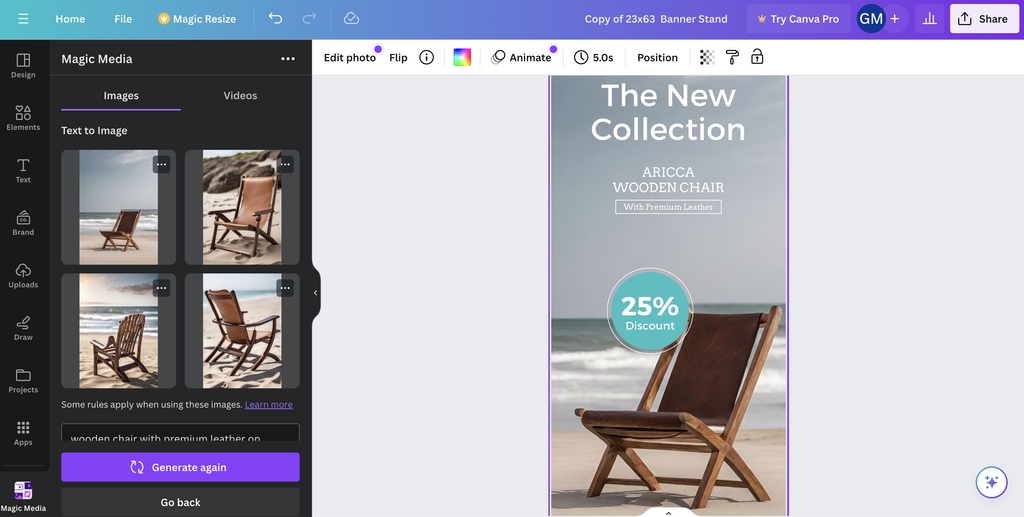
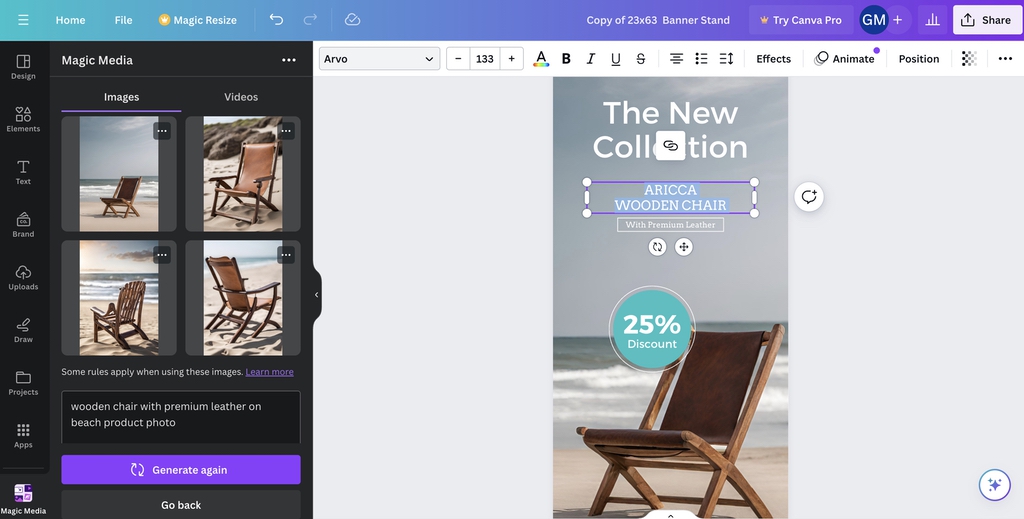
- You can also use Canva’s new “Magic Media” feature to generate images using AI. To do this, simply type a description of the image you want into the text box in the “Magic Media” tab and click the “Generate” button (example: “wooden chair with premium leather on beach product photo”).
For Best Results
- Use high-resolution (300 dpi or higher) for all raster images.
- Use vector images when possible for easier scaling.
- Choose photos and illustrations that support your message and branding.
- Make sure your logo is prominently displayed—usually in a corner of the banner stand or centered at the top of the canvas.
- Consider using another image as the background for your banner stand, but don’t make it too busy—it should have enough empty space so that the text you put on top of it next won’t be hard to read.
Step 4: Add Custom Content to Your Documents
Next, it’s time to place text in your banner stand design.
- Move any text block in your Canva template by dragging and dropping it.
- Click and pull the corners of text blocks to make them larger or smaller.
- Delete any unwanted text the same way you would delete an image, or add more text by clicking the “Text” tab on the left side of the screen and clicking the “Add a text box” button.
- Just like with images, Canva now lets you create simple text for your images with a “Magic Write” feature. Click the button over any text block and make a selection from the drop-down menu (like “rewrite”, “summarize”, or “more fun” to change the tone and style).
For Best Results
- Don’t put too much text on your banner stand. You want people to get the key information it contains at a glance, so limit it to essential messaging like:
- The name of your brand
- Your website
- A heading to capture attention (like the name of a product or service you’re advertising)
- A subheading or two to provide more detail (like a brief description of said product or service, and a call to action for potential customers)
- Don’t put text blocks too close together. Instead, try to balance them by having a short block on each side of your design (left to right or top to bottom).
Step 5: Customize Fonts & Other Stylistic Elements
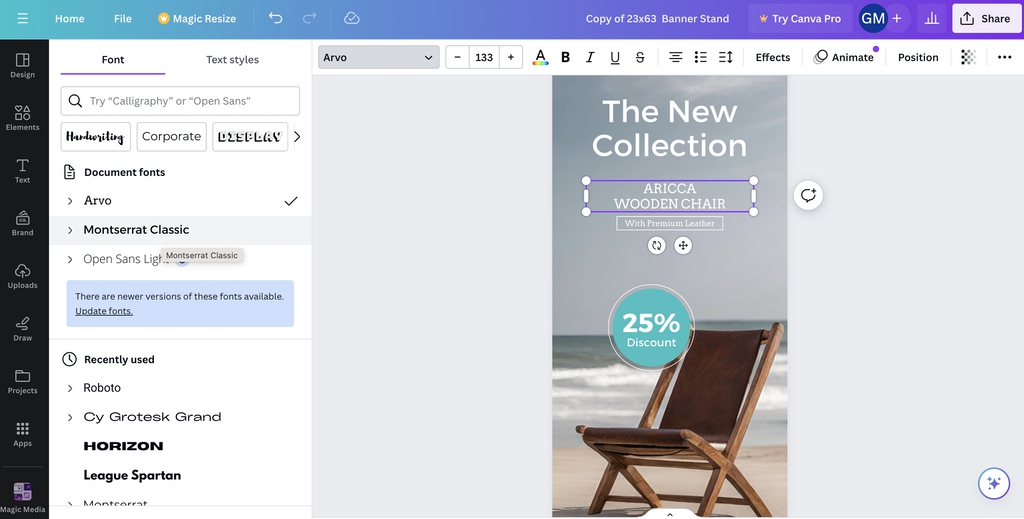
You get a lot of different font choices in Canva, so it should be easy to find a few that fit your branding. Whenever you click on a text element, you’ll see a font menu at the top of the screen that you can use to make a new selection.
For Best Results
- Make sure all fonts on your banner stand are highly legible and easy to read from a distance—we recommend at least 216-point font, since this is legible from about 100 feet away.
- Font colours need to be distinct from any backgrounds your banner stand uses. Try to find colours that match your branding but also create exciting contrast and draw the viewer’s eye.
- Keep the design of your banner stand consistent by using no more than 2-3 fonts.
Step 6: Download & Submit Your Print-Ready Banner Stand Design
Once you’re happy with the way your banner stand looks, it’s time to download the file and send it to Little Rock Printing™ for printing! Here are the steps you’ll need to follow:
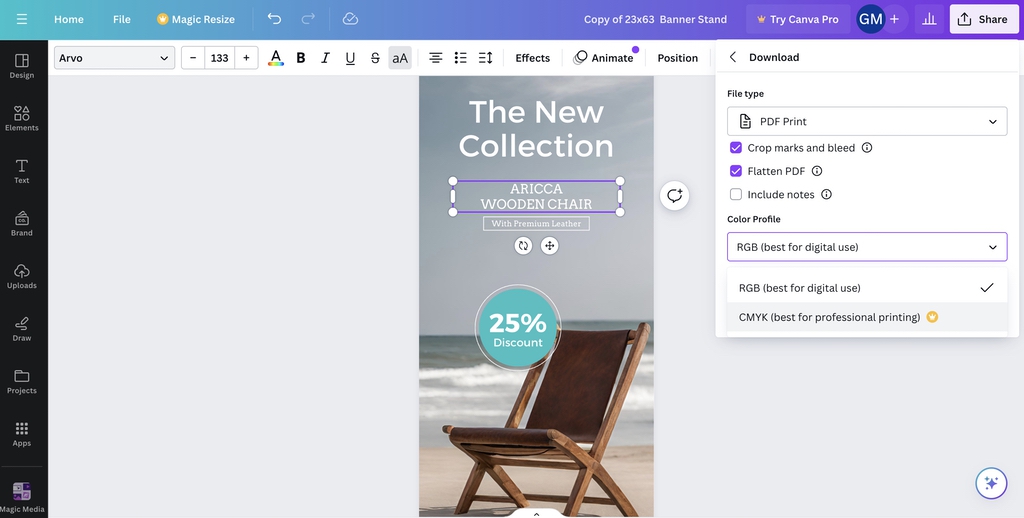
- Go to “Share” in the upper right corner.
- Select “Download” from the dropdown menu.
- Choose “PDF Print” under “File Type.”
- Include “Crop marks and bleeds.”
- Choose “Flatten PDF”.
- Opt for “CMYK” under “Colour Profile” (you’ll need a Canva Pro account for this).
- Click the “Download” button.
Printing Banner Stands that Benefit Your Business
When you print banner stands with Little Rock Printing™, you get the following benefits:
- No order minimums or maximums. We’ll print as many or as few banner stands as you need, including single-unit orders.
- Guaranteed timelines. Choose a due date (from 1-5 business days) for your order when you place it. We’ll make sure it’s ready by then.
- Printed in-house by experts. We don’t outsource. Nearly everything we print gets made in our Calgary print shop by professionals with decades of experience.
Learn more about printing banner stands when you contact Little Rock Printing™—or browse the FAQ below.
Frequently Asked Questions about Designing & Printing Banner Stands
What hardware comes with my banner stands?
Our standard banner stands include a banner printed on super-smooth material and installed into a roll-up stand, plus a carrying case for easy transportation.
Our premium banner stands come with a larger and more robust stand and carrying case.
Can Little Rock Printing™ reskin an existing banner stand for my business?
Yes! If you want us to reskin an existing banner stand, please bring in your old banner stand and all associated hardware. You’ll also need to place your order before bringing these materials to us so we can match the hardware to your order number more easily.
How much does banner stand printing with Little Rock Printing™ cost?
Our custom banner stands start at just $188.74, but the final cost depends on a number of different factors—including the hardware you’ve chosen, the quantity of units in your order, and more. Check out our banner stands page for accurate pricing.
How long does banner stand printing take at Little Rock Printing™?
We offer timelines ranging from 1-5 business days. Choose your delivery date when placing your order, and we’ll make sure the docs are printed and ready by then.
Can you design my banner stands for me?
Little Rock Printing™ is a printing service, so we don’t have in-house designers. But we provide templates and guides like this one to give you everything you need to create an ideal design on your own.
Can I use custom-branded fonts and colours in my Canva design?
Canva Pro gives you the ability to upload your own fonts. It also includes an advanced colour wheel for brand-specific matching. Please provide any specific colour codes you’ve used in your design when you submit it to us so we can make sure it’s printed correctly.
Can I get a proof before my banner stands are printed?
Little Rock Printing™ offers free proofs for all of our print products. To see how your final banner stand will look, order a single unit and use the code “FREEPROOF” at checkout. Once you review the proof and approve it, place the rest of your order with us and we’ll get right on it.